
Last updated September 20, 2026
Full 25-point door and opener safety check with every visit - springs, cables, rollers, tracks, and your LiftMaster or Chamberlain opener included
You get a price before we start. It does not change when the truck arrives.
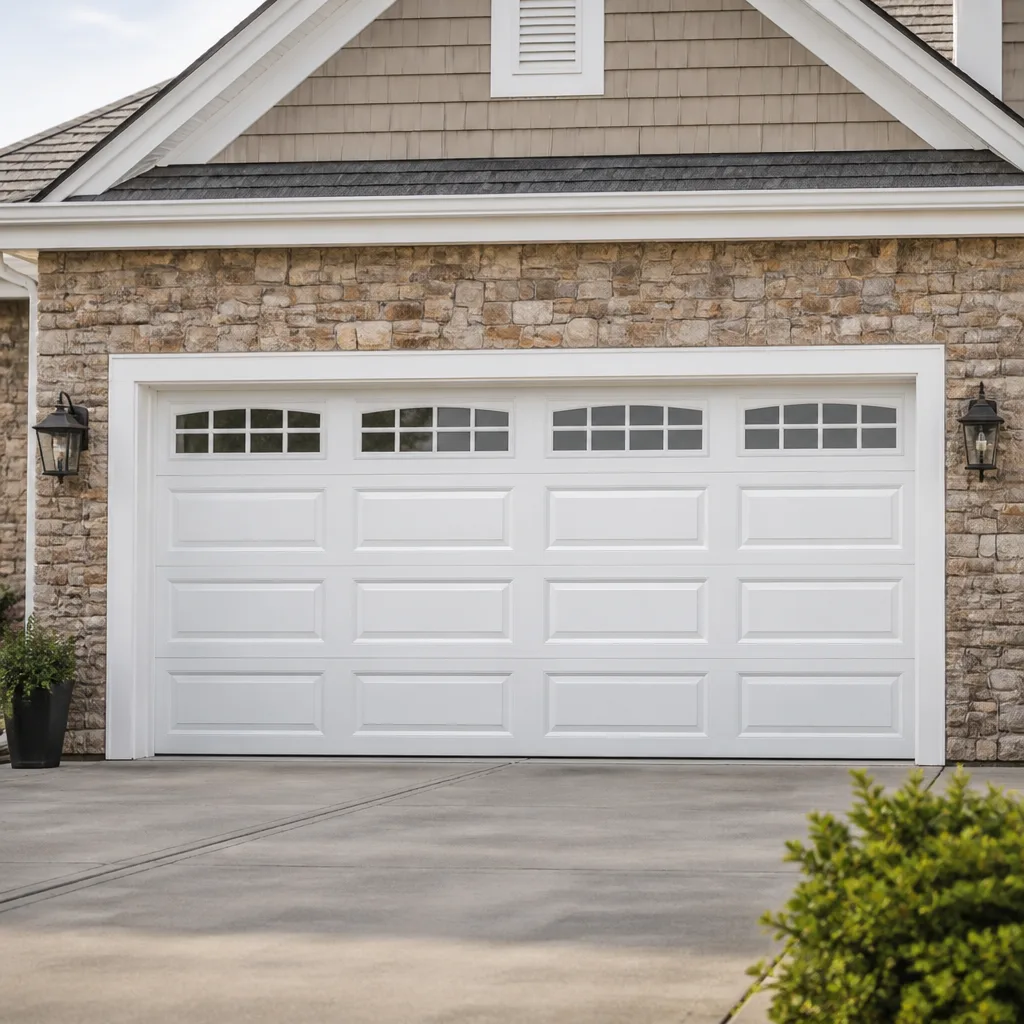
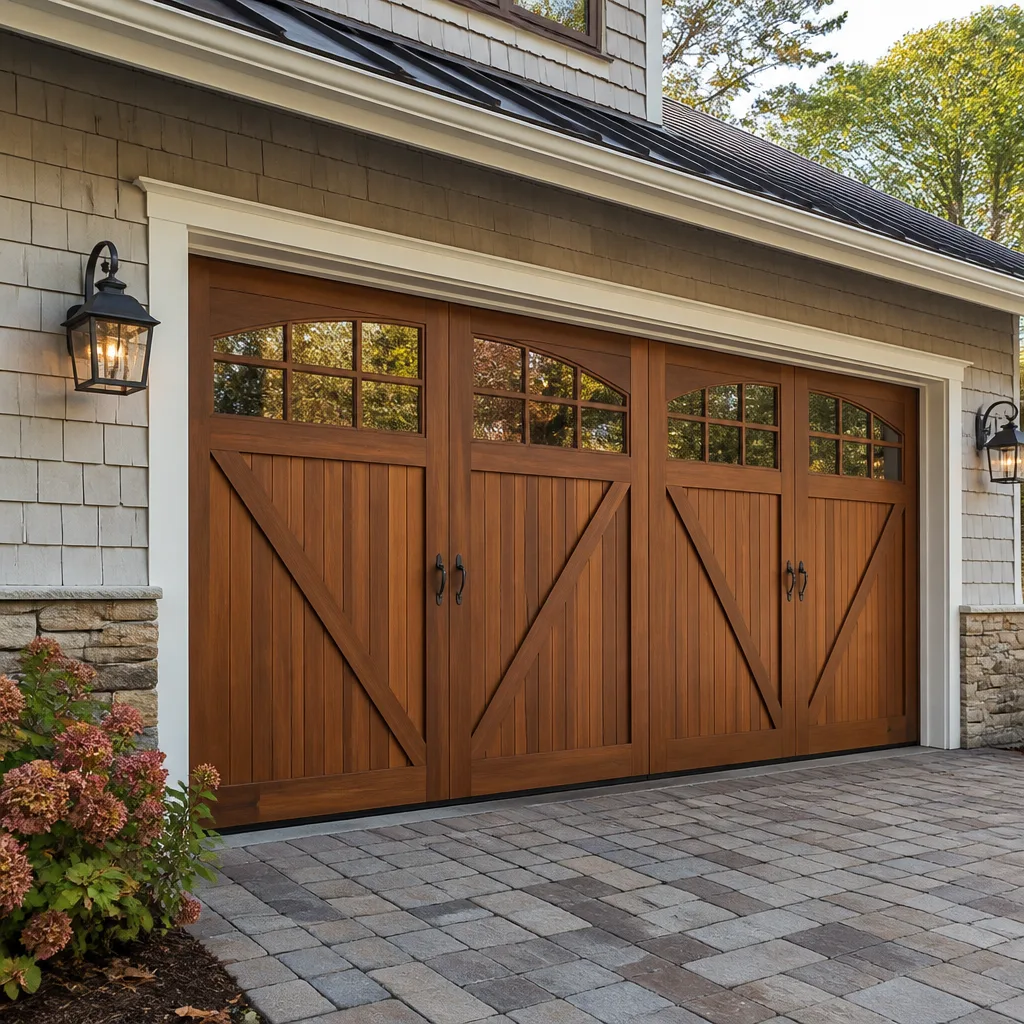
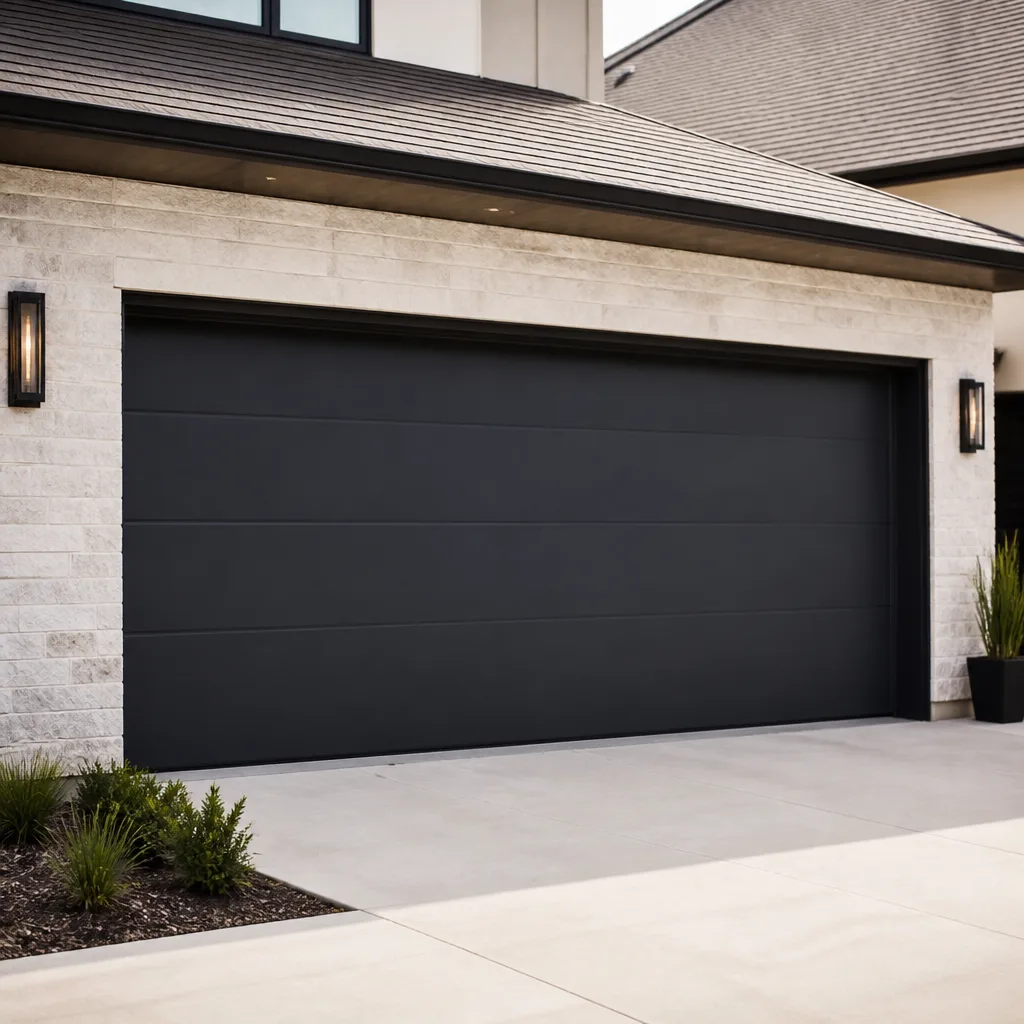
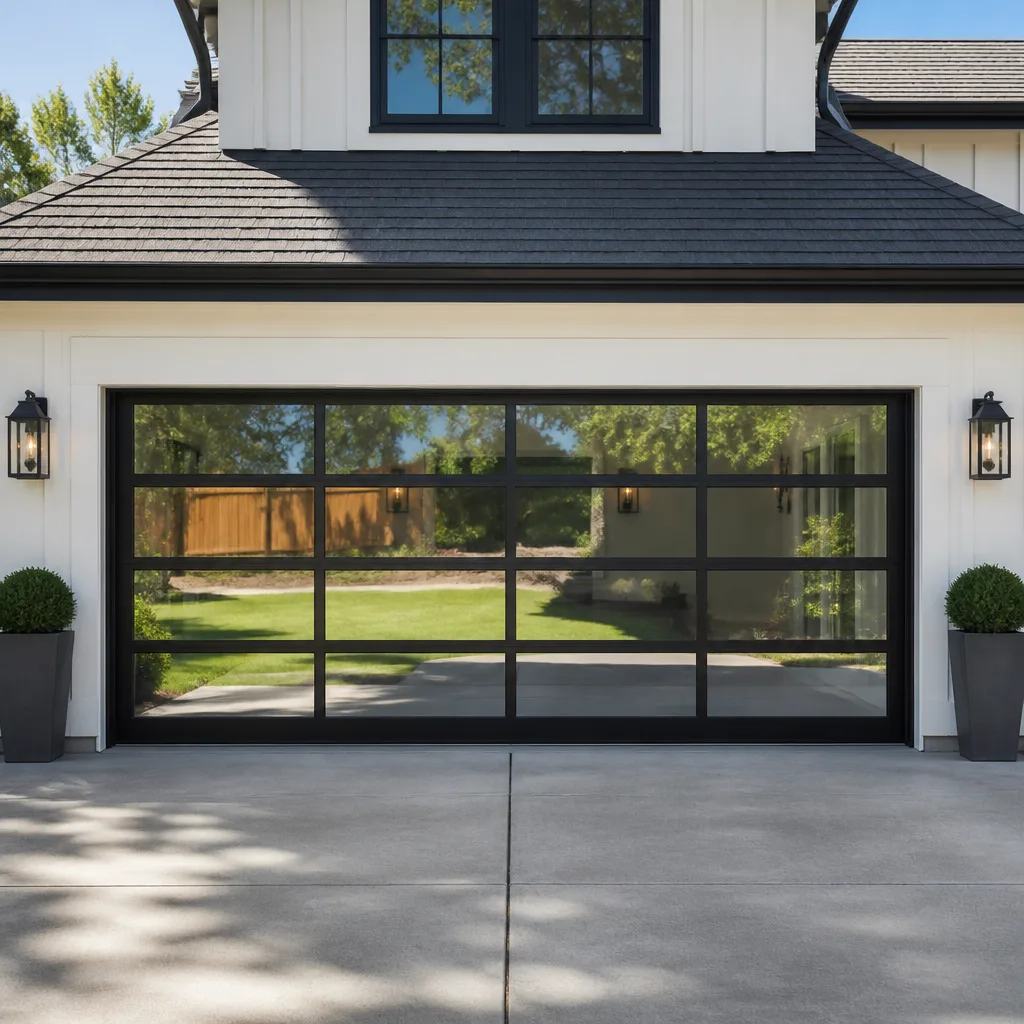
 Before
 After
After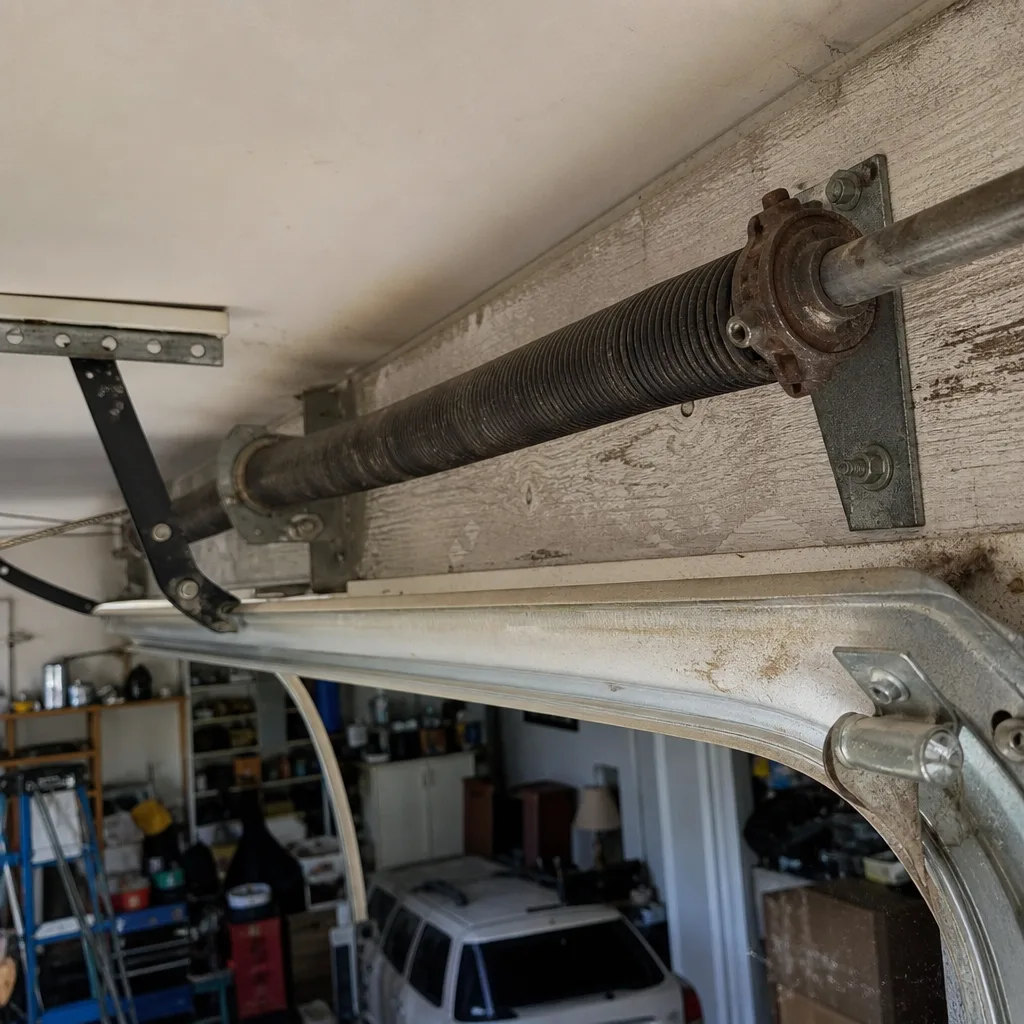 Before
 After
After Before
 After
AfterGarage Door Repair Maintenance Checklist for McDonough Homeowners
Most garage door maintenance checklists fail for the same reason a doctor telling you to “eat healthy” fails: the instruction only works if you already know what healthy looks like. “Check your springs” is not guidance. A torsion spring with 1 to 3 inches of visible separation between coils has already failed, even though it still opens the door. A roller with a flat spot makes noise for months before it locks up. The checklist below fixes this by giving you pass/fail thresholds, not vague reminders. Written from our experience across McDonough, Henry County, and the surrounding metro Atlanta suburbs, this is the maintenance guide we wish every homeowner had before they called us.
Quick Answer
The garage door maintenance checklist for McDonough homeowners is a twice-yearly inspection covering seven components: torsion springs (look for 1+ inch of coil separation), rollers (replace when you see a flat spot or chip), cables (replace when you see fraying, full stop), tracks (keep dry, no grease), bottom seal (replace every 2 to 3 years in McDonough’s climate), opener force settings (door should reverse on a 2×4 laid flat), and balance (door should hold position half-open, unassisted). Most of it takes 20 minutes with a flashlight and your phone camera. The spring, cable, and track-bolt items require a technician, and the line between DIY and professional is drawn where a failure releases stored tension energy.
Table of Contents
- Torsion Springs: The Only Pass/Fail Test That Matters
- Rollers and Hinges: What Wear Looks Like Before Failure
- Cables and Drums: The Component That Kills When It Fails
- Tracks and Bolts: Alignment, Torque, and Why Dry Means Dry
- Bottom Seal and Weatherstripping: The McDonough Humidity Tax
- Opener Force Settings and Safety Reversal: The 2×4 Test
- Door Balance and the Lift Test: The Test That Predicts Spring Death
- The Record-Keeping Format: Your Dated Paper Trail
- What You Can Do Yourself vs. What Requires a Technician
- Common Mistakes to Avoid
- When to Call a Professional
- Frequently Asked Questions
- The Bottom Line
BeforeAfterTorsion Springs: The Only Pass/Fail Test That Matters
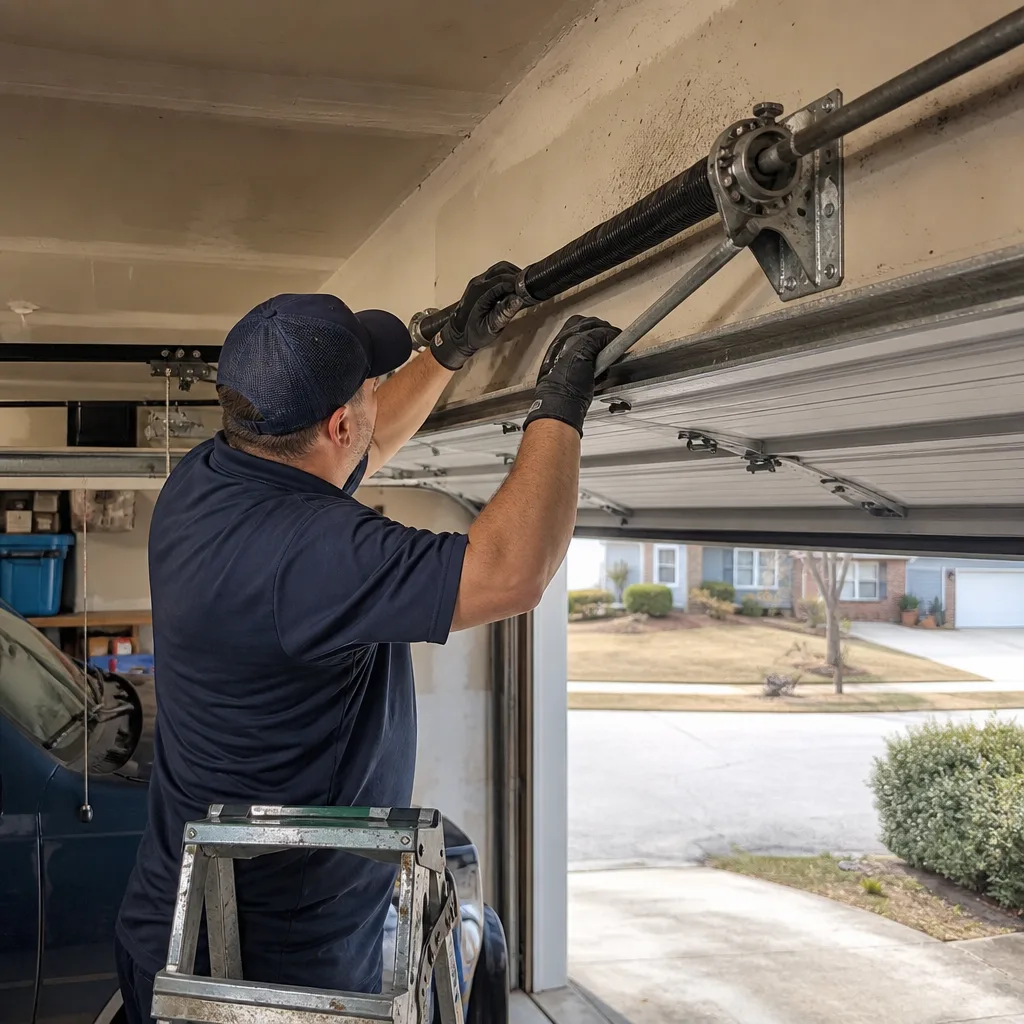
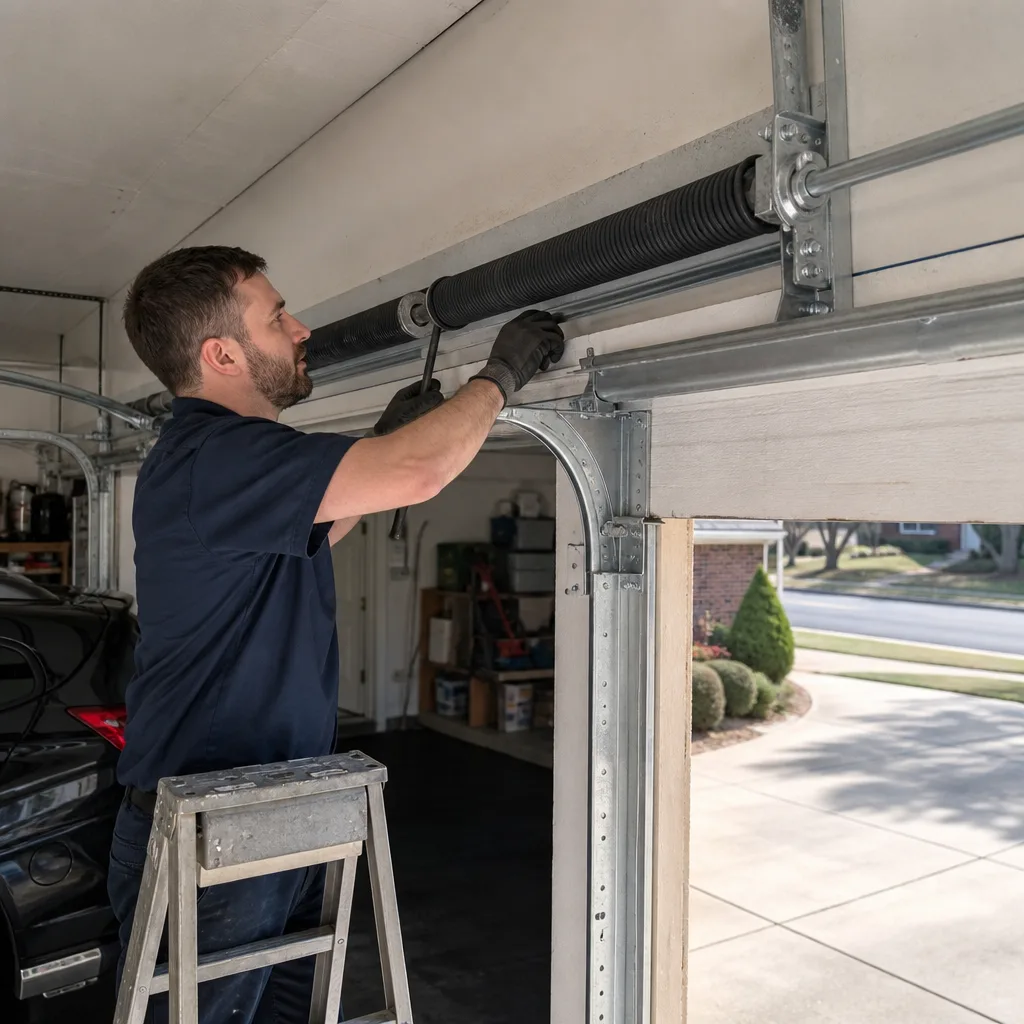
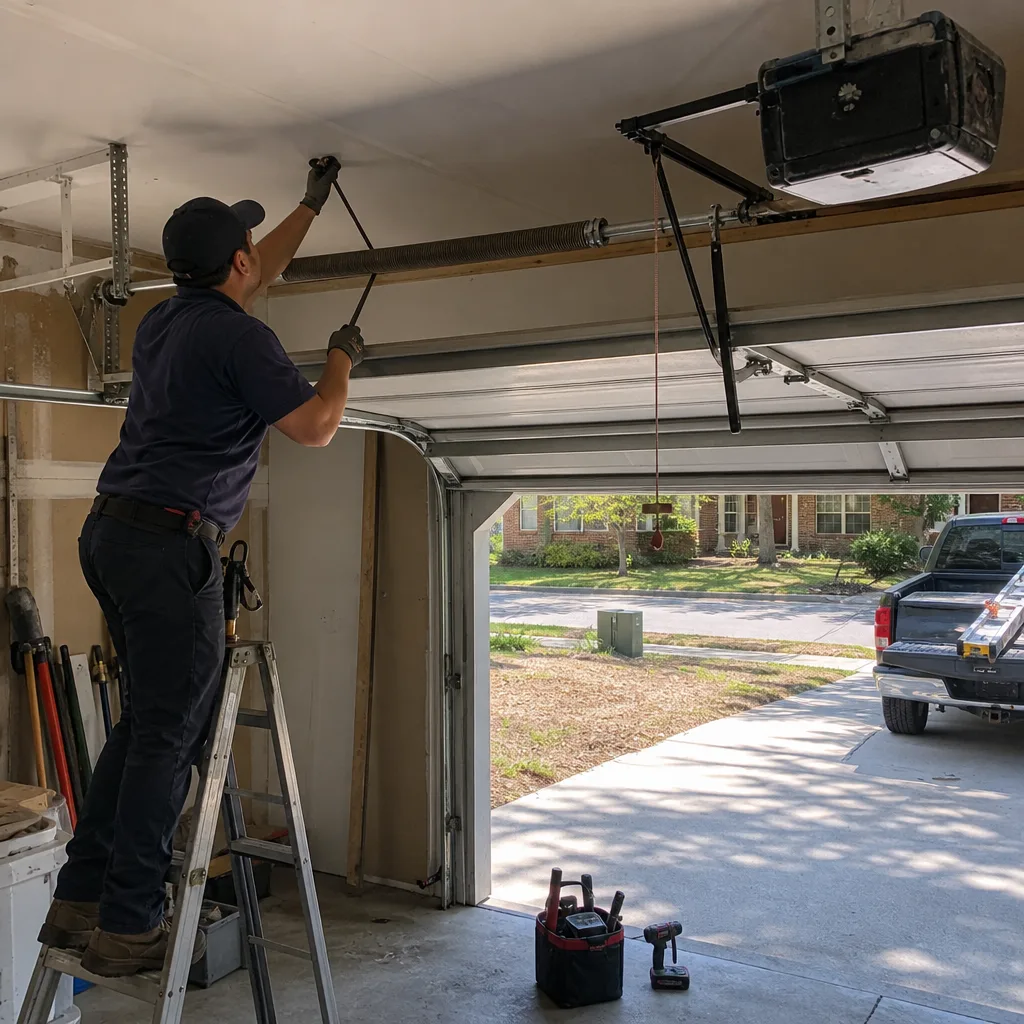
A torsion spring is the coiled metal component mounted on a shaft above your garage door opening. It stores the mechanical energy that makes a 150-pound door feel like it weighs 15 pounds. When it breaks, the sound is a gunshot, and the door will not open, no matter how many times you press the button.
Here is the pass/fail threshold that matters more than any other measurement on a garage door in McDonough:
- PASS: Coils are tight and evenly spaced from one end of the spring to the other. You cannot see daylight through the gap between any two adjacent coils.
- FAIL: You can see 1/8 inch or more of separation between any two coils. That is the beginning of a fatigue crack.
- FAIL (imminent): You can see 1 to 3 inches of separation. The spring has already fractured and is holding on by friction. This is the one to act on immediately.
Most springs are rated for 10,000 cycles, which translates to roughly 7 to 10 years of normal use. In practice, McDonough homeowners using their garage as the primary entry point (two open/close cycles per day, every day) put about 730 cycles on a spring per year. At that rate, a 10,000-cycle spring lasts around 13 years, but humidity and temperature swings across Henry County summers and winters cut that down. We routinely replace springs at the 7-to-8-year mark that fail before their rated cycle count.
Lubricating a torsion spring is not optional, and the lubricant you use matters more than most guides admit. A lithium-based grease, applied lightly along the coil face, reduces coil-to-coil friction and slows corrosion. It should be applied once a year, and you should use a rag to wipe off excess. The coil faces should look damp, not dripping. If you are curious what a spring in acceptable condition looks like versus one a month from failure, this is the question we answer with photographs on every service call, per Clause 4 of The Haven Standard: the customer sees the failed part before anyone quotes a replacement.
Rollers and Hinges: What Wear Looks Like Before Failure
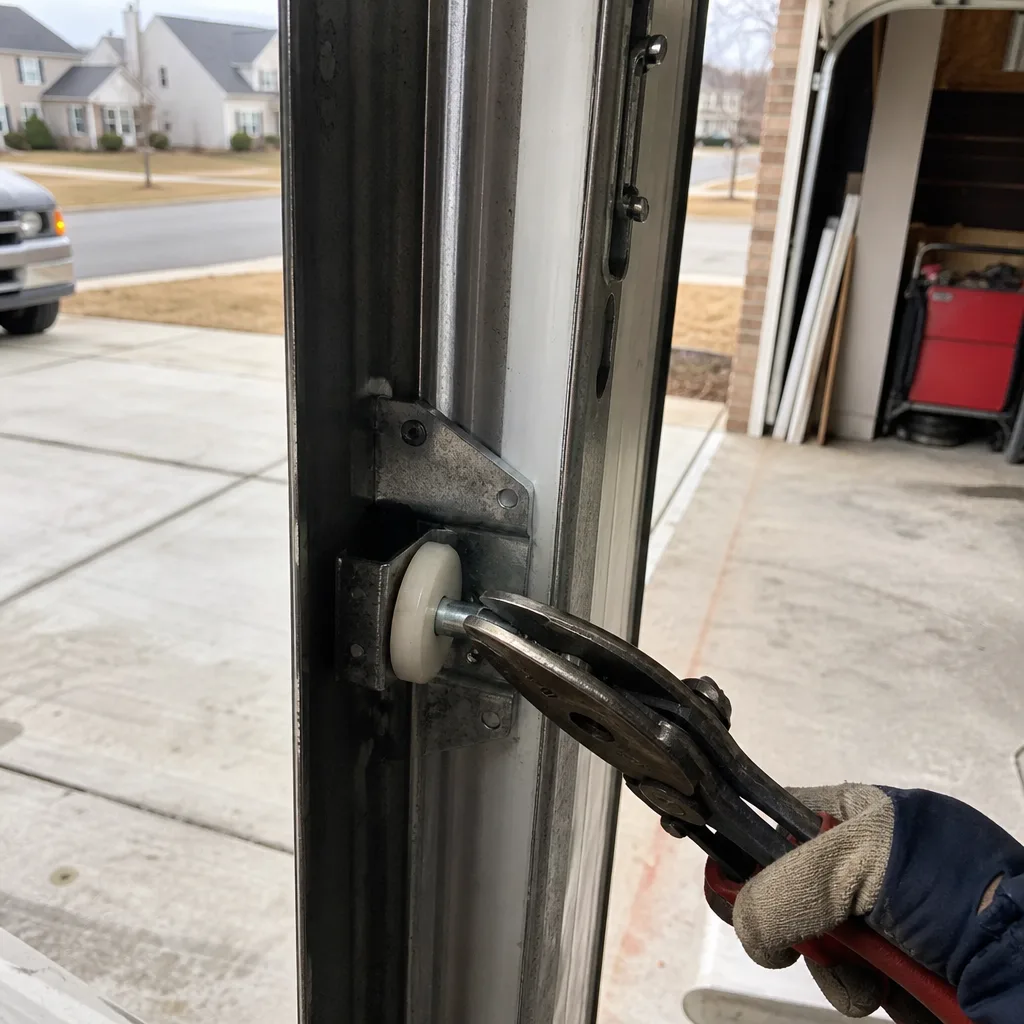
Garage door rollers are the small wheels attached to the sides of each door section that ride inside the vertical and horizontal tracks. They come in three qualities: plastic (fail in 2 to 4 years), steel (fail in 4 to 7 years), and nylon (last 7 to 10 years). If your door was installed before 2018, it probably has steel or plastic rollers, and you are closer to replacement than you think.
Here are the pass/fail thresholds:
- PASS: The roller wheel is round with no flat spots when you rotate it by hand. The bearing stem shows no wobble when you shake it side to side. It turns with light resistance only.
- FAIL: You can see a flat spot on the wheel, a chip in the wheel material, or the wheel turns with a gritty feel. Any one of those means replacement.
- FAIL (noisy): A popping or grinding sound during door travel almost always traces to a roller whose bearing has collapsed. The noise is the bearing balls chewing their own race.
Lubricating rollers is the single most confused task on a maintenance checklist, and McDonough’s climate makes the confusion worse. Rollers with metal bearings take a silicone-based spray, applied to the bearing stem, once a year. Never use lithium grease on a nylon roller: the petroleum base degrades the nylon over time. Never use WD-40 anywhere on a garage door. Its solvent base strips whatever lubrication was there and offers none in return. Dry PTFE lubricant, the same product we use on tracks, is the only thing we spray on a nylon roller assembly.
The hinges that connect your horizontal door sections deserve 60 seconds of your time twice a year. Look at the pivot point where the hinge folds. If you see rust-colored dust around the hinge pin, that is metal-on-metal wear producing metal powder. It means the hinge has been running dry and is now wearing itself out. A silicone spray on the hinge pivot, wiped to remove excess, extends hinge life by years. A hinge that has already consumed its bushing should be replaced, not lubed.
While you are checking rollers, run a rag along the vertical track edge where the roller rides. If the rag comes away with black rubber dust, the roller wheel is wearing against the track face. In McDonough’s summer humidity, rubber dust absorbs moisture and becomes a paste that accelerates wear. Clean it off with a dry rag. Do not use solvent on a track.
Cables and Drums: The Component That Kills When It Fails
The lift cables run from a drum at each end of the spring shaft down to the bottom corner of the door. Each cable carries the door’s weight during every open and close cycle. If a cable fails, the door drops on one side, folds, and the remaining cable snaps under the uneven load. This is the failure mode responsible for the serious garage door injuries that make national news.
There is no gray area on cable inspection. The pass/fail line is absolute:
- PASS: The cable is uniform in thickness along its entire visible length. No broken strands. No rust staining. No kink.
- FAIL: You see one broken wire strand. One. Cables are wound from seven or more strands, and when one goes, the remaining strands are each carrying more load than they were designed for. The cascade failure happens within weeks, not months.
- FAIL (visual only): Rust staining that flakes off when you touch the cable. That is corrosion inside the strand bundle, weakening the cable from the inside out.
Here is the safety line, and we will state it plainly because a real expert always flags the danger: do not touch a garage door cable. Do not attempt to tighten it, re-seat it on its drum, or “just look real quick” while the door is moving. A cable that has come off its drum means the spring tension on the shaft has changed, and the spring is now storing energy in an asymmetrical configuration. The correct response is to stop using the door, leave it in whatever position it is currently in, and call a professional. If you want to understand why, read our guide on Garage Door Warning Signs: A McDonough Homeowner’s Reference Guide. Servo Garage Doors McDonough technicians are trained to re-seat cables under controlled tension release, with the correct winding bars and clamp blocks, and every repair is documented with a photo record before and after the work.
One more thing about the drums: if you look at the drum at the end of the spring shaft and the cable is no longer winding in a single, even layer, but instead crosses over itself, that is a drum timing issue. It happens gradually as the cable stretches and the drum alignment shifts. Left alone, it produces an uneven door gap at the bottom, then a snapped cable. Take the photo. Put it in your record. Call it in.
Tracks and Bolts: Alignment, Torque, and Why Dry Means Dry
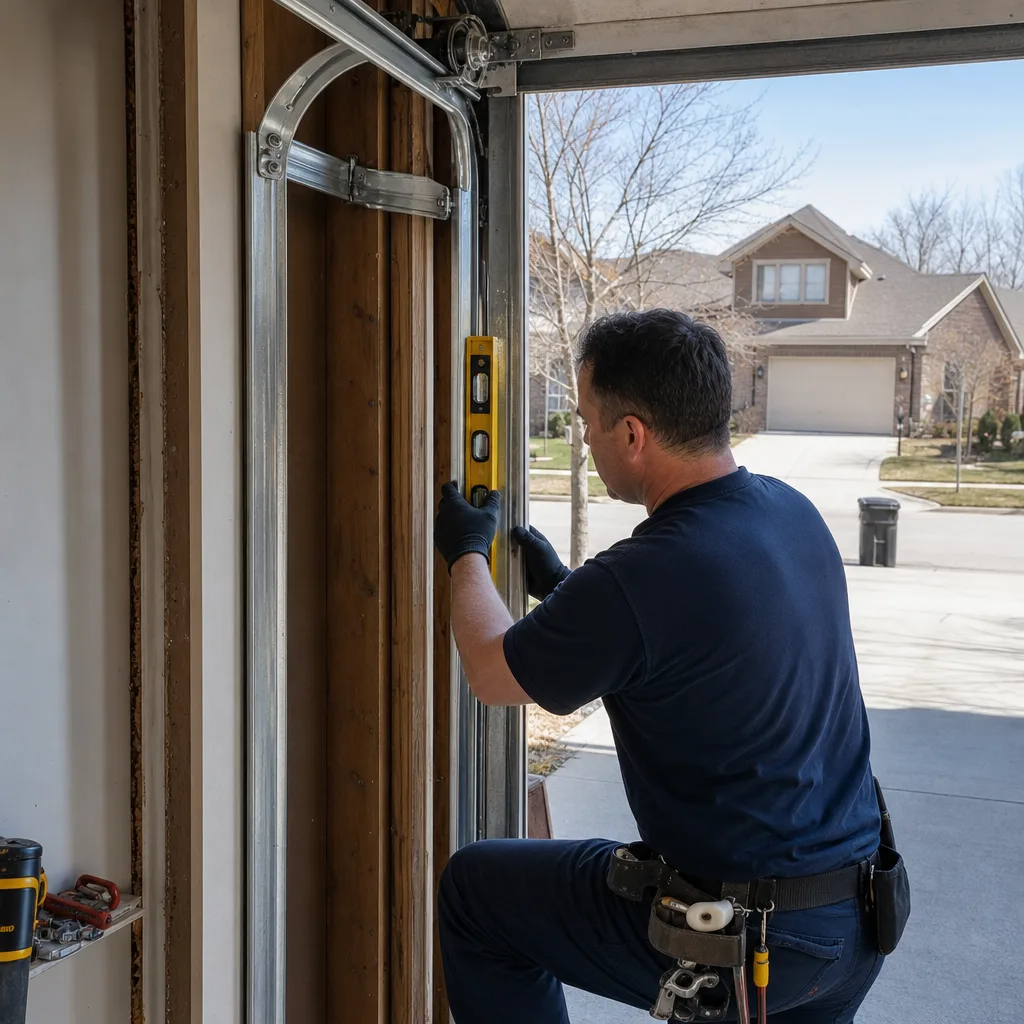
The vertical and horizontal tracks that guide your door are the skeleton of the entire system, and in McDonough, the two failure modes we see most are bolt loosening and track misalignment caused by the door being hit, usually by a car pulling in too fast.
Start with the bolts. Every track bracket, where it attaches to the wall or ceiling, should be finger-tight at minimum, and wrench-tight on a properly torqued installation. The pass/fail check is simple: put a gloved hand on each bracket and try to move it. It should not move at all. A bracket that shifts under hand pressure means the lag bolt has pulled loose from the wall framing, and that bolt will not re-tighten into the same hole. It needs a larger gauge bolt or a re-drilled hole, and this is a technician task because it involves the structural attachment of a device under spring tension.
Track lubrication is the most misinformed item on every generic checklist. Here is the truth: tracks should be completely dry. They are not a lubricated surface. The rollers ride on the inside of the track with a rolling motion, not a sliding motion, and any lubricant on a track attracts dust, pollen, and the fine red Georgia clay that gets airborne in Henry County during dry spells. The result is a black paste that increases rolling resistance, accelerates roller wear, and eventually causes the door to bind mid-travel.
The only acceptable track maintenance is dry: a clean, dry rag, wiped along the inside face of each track twice a year. If the rag comes away black, that is wear paste from a roller problem, not a signal to add lube. If you must use anything, a dry PTFE dry-film lubricant, applied to the track face and then wiped almost completely off, is acceptable. Anything wet on a track is wrong.
Alignment is the last track check, and it has a geometric pass/fail. Stand inside the garage, looking at the door. The gap between the door edge and the track should be the same width on the left and the right, from floor to header. If one side is tighter at the top than the bottom, the track has been knocked out of vertical. Do not try to straighten it with a hammer. Misaligned tracks put a side load on the rollers that accelerates every other wear item on this list. The correction requires loosening the bracket, realigning, and re-torquing, and doing that with the spring tension still on the door is a technician’s job.
Bottom Seal and Weatherstripping: The McDonough Humidity Tax
The rubber or vinyl strip along the bottom of your garage door is called the bottom seal, and it is the component that fights McDonough’s climate every single day. Between April and October, outside humidity in Henry County routinely exceeds 80%, and after a typical summer thunderstorm, the concrete slab of your garage floor is wet for hours. The seal is what keeps that moisture on the outside, and heat is what kills it.
Here is the pass/fail threshold specific to this region:
- PASS: The seal is pliable when you press it with a thumbnail. It springs back. It makes continuous contact with the floor across the entire width of the door, with no daylight visible under any section.
- WATCH: The seal has small cracks visible on the outer surface but still springs back. You have 6 to 12 months before it fails.
- FAIL: The seal is stiff, cracked through, or has flattened into a hard plastic-like state. It is no longer sealing anything. Daylight under the door is the definitive failure.
In McDonough’s climate, a bottom seal lasts 2 to 3 years, not the 5 to 7 years you will read on national home improvement sites. The combination of 90°+ summer days, a slab that holds heat, and humidity that keeps the rubber perpetually damp, breaks down the polymer chain faster than the manufacturer’s rated life. Check your seal in late March, before the humidity arrives, and again in September, after the summer has done its damage.
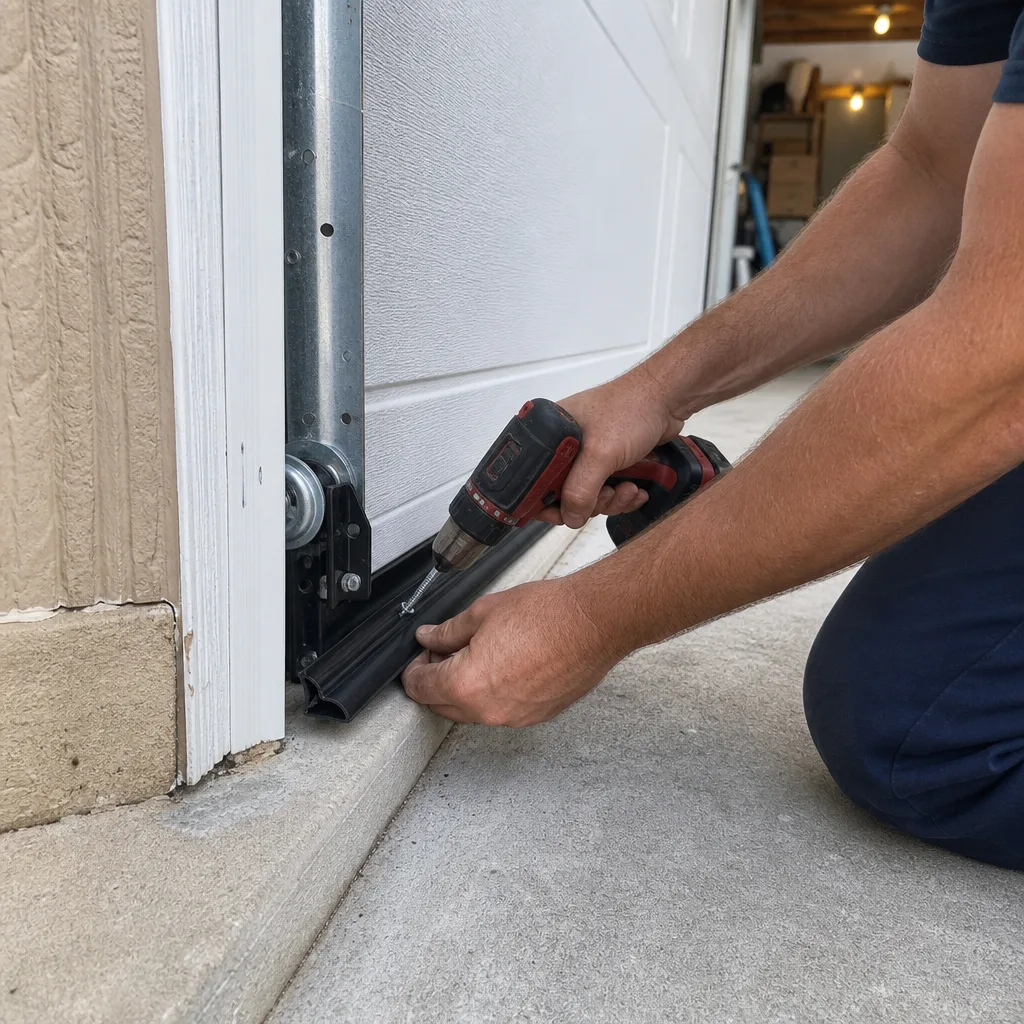
Replacing a bottom seal is a DIY-accessible task on most doors, provided the door is in the fully open position and the old seal slides out of its retaining channel. The seal profile matters: T-style seals, which push into a retainer channel, are the standard on Clopay and Amarr doors, and the new seal should match the old one’s exact profile. Do not use an adhesive-mounted seal as a shortcut. On a McDonough slab that runs wet for hours, adhesive fails in one season.
Opener Force Settings and Safety Reversal: The 2×4 Test
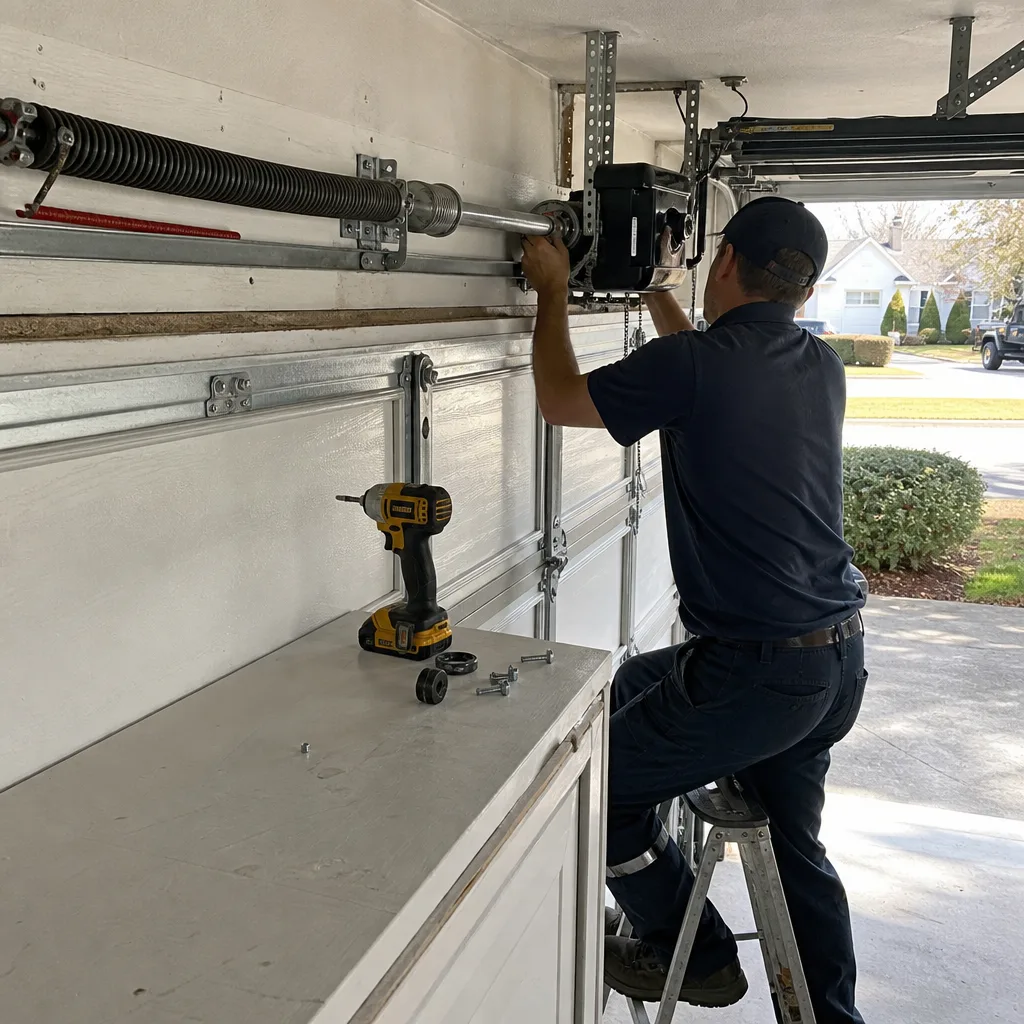
The safety reversal mechanism on your garage door opener is the single most important safety feature on the entire garage door system, and it is also the most frequently disabled. We find openers in McDonough where the previous homeowner or a handyman cranked the down force to maximum because the door was binding, masking the underlying problem by forcing the door through it.
Here is the test that takes 90 seconds and should be performed twice a year:
- Place a 2×4 board flat on the floor directly under the center of the door path.
- Close the door using the regular button, not the wall-mounted or remote-only, so the force settings are active.
- The door should contact the 2×4 and reverse direction within 2 seconds, returning to the fully open position.
- If the door stalls, strains against the 2×4, or reverses slowly, the force setting is too high. The door is applying more downward force than it should.
A door that passes the 2×4 test but reverses slowly, or reverses only partway, is borderline. The force setting should be reduced until the door reverses immediately on contact. If reducing the force causes the door to reverse without touching anything, you are now feeling the real resistance in the system, which means something else on this checklist, usually rollers or a balance problem, needs attention before the opener can run at safe settings.
Modern openers from LiftMaster and Chamberlain have a digital force adjustment in the settings menu; older units use two trim potentiometers on the opener body, usually labeled “up force” and “down force.” Do not touch the down force screw without understanding what you are adjusting. Over-correcting can produce a door that reverses mid-travel, then slam if the force is re-cranked. If the door cannot pass the 2×4 test at a reasonable setting, call the professional. The Garage Door Opener Repair & Installation in McDonough page covers this in more detail, and Servo includes the safety reversal verification on every service visit.
Door Balance and the Lift Test: The Test That Predicts Spring Death
Here is the single most predictive test on this entire checklist, and almost no generic guide includes it: the half-open balance test. It takes 30 seconds and tells you more about the health of your torsion spring than any visual inspection can.
- Close the door fully.
- Pull the red emergency release cord on the opener rail to disengage the opener from the door.
- Lift the door by hand to the halfway position, around waist height.
- Release the door.
The pass/fail thresholds:
- PASS: The door stays where you released it, within an inch of vertical drift over 10 seconds. The spring tension is correct and the door is balanced.
- MARGINAL: The door drifts upward or downward noticeably within a few seconds. The spring is losing tension. It still works, but it is working the opener harder than it should.
- FAIL: The door drops to the floor when released. The spring has lost significant tension and is no longer counterbalancing the door’s weight. The opener motor is now doing the work the spring should be doing, and the opener’s lifespan is being consumed at 3x the normal rate.
A door that fails the balance test is not safe to leave on the automatic opener. The next failure in the sequence is the spring. In our experience across McDonough and the surrounding Henry County market, we see doors running on failed-balance springs for 6 to 18 months before the spring breaks. Those are months of excessive wear on the opener gear, the rollers, and the hinges. The balance test is the early warning system that catches it before it becomes a gunshot in your garage.
The Record-Keeping Format: Your Dated Paper Trail
The difference between a maintenance routine and a maintenance record is a date and a photograph. We tell every McDonough homeowner we work with the same thing: if it is not written down, it did not happen. Your future insurance adjuster and your future home buyer both read what is in the file, not what you remember doing.
Here is the format we recommend, designed to take two minutes per inspection:
- Date and season. Write the date and whether this is the spring or fall inspection. McDonough’s climate dictates two inspections per year: after last frost (late March) and after peak summer heat (late September).
- Photograph the seven components. Springs, rollers (one close-up), cables (both sides), tracks (one vertical, one horizontal), bottom seal, opener unit (showing the model number), and a wide shot of the door in the closed position. Seven photos, every time. Your phone’s timestamp is the record.
- Note pass/fail for each component. One line per item. “Springs: coils tight, no separation. Rollers: no flat spots. Cables: no fraying. Tracks: dry, bolts tight. Seal: minor cracking, watch until fall. Opener: passed 2×4 test. Balance: holds half-open.”
- File the photos and notes in the same folder. Cloud storage is fine. The folder becomes your service history.
This record does three things. It proves maintenance continuity if you ever file an insurance claim and the adjuster asks when the door was last inspected. It gives a home buyer documented evidence that the garage door system was maintained, which in the McDonough market is a genuine differentiator on a seller’s disclosure. And for us, it shortens a service call: when a McDonough homeowner calls Servo and can email us six months of dated photos, we can often diagnose the problem before we dispatch, and the technician arrives with the parts loaded. You can also use this record when you get a quote from another company. Bring the paperwork, and our Free Second Opinion applies to any written estimate, no coupon required.
What You Can Do Yourself vs. What Requires a Technician
This section exists because every maintenance checklist should tell you where the line is. And in garage doors, the line is drawn exactly where stored energy is involved.
Safe for a homeowner to perform:
- Visual inspection of all seven components (the entire checklist above)
- Photographing and documenting what you find
- Wiping tracks with a dry rag
- Lubricating rollers and hinges with silicone spray (with the door closed, wipe excess)
- Lubricating torsion springs with lithium grease (light coat, wipe excess)
- Testing the safety reversal with the 2×4 test
- Testing door balance with the emergency release and half-open test
- Replacing the bottom seal on a door that is fully open and supported
Requires a trained technician. Every time. No exceptions:
- Adjusting, repairing, or replacing a torsion spring. The spring is under 100+ pounds of stored torque. It is the most dangerous component in your home, full stop.
- Re-seating or replacing a lift cable. The cable is under the door’s full weight, and a cable that slips during service releases all of it at once.
- Adjusting track alignment or re-torquing track brackets. Doing this with spring tension still on the door means the track is under load, and the track can shift while your hand is on it.
- Replacing an opener logic board or any electrical component. And if you smell burning plastic from the opener, unplug it and leave it unplugged.
The reason the line exists where it does is not legal gatekeeping. It is physics. The components on the DIY side of the line are all accessible without releasing stored energy. The components on the professional side are all under tension, and the correct procedure requires controlling that tension with the right tools, in the right sequence. When you work with Servo Garage Doors McDonough, the technician photographs the failed component before quoting any replacement, per Clause 4 of The Haven Standard, and the written price you approve before work starts is the price you pay when the work is done.
If your door is on the professional side of the line and you are comparing quotes, our advice is simple: a written estimate from any company should list the part number, the parts cost, the labor cost, and the warranty period. If it does not, ask why. If the answer is “call us to discuss,” that is not a written estimate. It is a sales funnel. Our Garage Door Repair in McDonough page explains the exact format you should expect on a flat, written price.
Common Mistakes to Avoid
- Using WD-40 on anything. WD-40 is a solvent and water displacer, not a lubricant. On torsion springs it strips the protective film and accelerates corrosion, particularly in McDonough’s summer humidity. Use lithium grease on springs, silicone on rollers and hinges, dry PTFE on tracks.
- Greasing the tracks. Wet lubrication on a track attracts Georgia clay dust and creates a friction paste that wears rollers out faster. Tracks run dry.
- Cranking up the opener force to fix a binding door. When a door starts binding and the homeowner (or a previous homeowner) turns the down force up until it closes again, the binding problem is now being forced through, not fixed. The real problem is rollers, balance, or track alignment, and masking it shortens the life of everything.
- Ignoring the bottom seal because “it still looks fine.” In McDonough, the seal fails from heat and humidity from the inside out. If it is cracked on the surface, the interior has already hardened, and it is not sealing. The replacement interval here is 2 to 3 years, not 5 to 7.
- Attempting a DIY spring “adjustment” learned from a video. The video does not show the part where the winding bar slips and the spring unwinds into your hand. We see the aftermath of these attempts in McDonough garages. The cost is always higher than the spring replacement would have been.
- Not recording inspection dates. An undated inspection is not a record, and a home buyer or insurance adjuster treats it as hearsay. Two minutes of documentation per inspection builds a paper trail that pays for itself.
- Ignoring a cable that has frayed “just a little.” One broken strand means the remaining strands are overloaded. The cascade failure is measured in weeks. A frayed cable is not a maintenance item; it is an emergency that has not happened yet.
When to Call a Professional
Call a professional, immediately, if you see a frayed cable, a spring with visible coil separation, or if the door fails the balance test and drops when released at the halfway point. These are not maintenance items. They are pre-failure conditions. Call if the safety reversal fails the 2×4 test and you cannot correct it with a force reduction. Call if a track bracket is loose enough to move by hand, because the structural attachment has failed and re-tightening will not fix the underlying problem. Call if you hear a grinding noise from the opener itself, which usually indicates a stripped gear inside the motor housing. Servo Garage Doors McDonough offers free estimates in McDonough. Call (470) 928-4767, and a real person answers, 24/7. When you book a garage door installation in McDonough through us, the written price and written scope are delivered before any work starts, and the photo record of findings and completed work is in your hands when the technician leaves.
Frequently Asked Questions
Lubricate the torsion springs, rollers, and hinges once a year, and the best time in McDonough is late March, after the last frost and before the humidity arrives. Use lithium grease on the spring coils, silicone spray on the roller bearings and hinge pivots, and nothing at all on the tracks except a dry wipe. Call (470) 928-4767 for help identifying what type of roller your door has, and the right product for it.
A torsion spring that is about to break shows visible separation between two or more coils, typically 1/8 inch to 3 inches, and the separation often appears right before a clean break at the coil. In McDonough’s climate, rust streaks down the coil face are another warning sign that the spring steel is fatiguing. Call (470) 928-4767 if you see coil separation, and stop using the door until it is inspected.
Yes, replacing a bottom seal is a DIY-accessible task on most doors from Clopay, Amarr, and Wayne Dalton, provided the door is fully open, the old seal slides out of its retainer channel, and the replacement matches the same profile. In McDonough, expect to replace the seal every 2 to 3 years because heat and humidity harden the rubber faster than the rated lifespan. Call (470) 928-4767 if you have questions about your door’s seal profile before ordering a replacement.
A loud bang when the door closes usually traces to a torsion spring with a fatigue crack, or rollers binding in tracks that have been knocked out of alignment. Summer heat makes the metal expand and can shift a cracked spring enough to make the sound. If the bang is accompanied by coil separation on the spring, stop using the door and call (470) 928-4767 for an inspection.
A full garage door tune-up in McDonough, including spring lubrication, roller inspection, track cleaning, balance testing, safety reversal verification, and a written photo record, typically runs $89 to $149 depending on the door type and opener age. Any parts replacement is quoted separately as a flat, written price before work starts. Call (470) 928-4767 for an exact quote based on your door.
Stop using the door immediately, leave it in whatever position it is in, and call a professional. A frayed cable is a pre-failure condition, and when it fails, the door drops asymmetrically and the remaining cable snaps under the uneven load. This is not a repair to attempt or postpone. Call (470) 928-4767, and a technician will arrive with the correct cable and the controlled-release procedure to replace it safely.
The Bottom Line
A garage door maintenance checklist in McDonough is worth exactly as much as its pass/fail thresholds. “Inspect springs” is not guidance. “Look for 1/8 inch or more of coil separation” is. Twice a year, in late March and late September, spend 20 minutes going through the seven components, photographing each one, and writing pass or fail in a dated record. Use the right lubricant on each component, keep the tracks dry, and replace the bottom seal on a 2-to-3-year cycle that accounts for McDonough’s humidity. Do the balance test and the 2×4 reversal test every inspection. The DIY line stops where stored tension energy begins: springs, cables, and track-bolt corrections are technician work, always. If your door crosses that line, Servo Garage Doors McDonough is ready, with a written price before any work starts and a photo record when the work is done. Call (470) 928-4767.
Written by Marcus Deller, Owner at Servo Garage Doors McDonough, serving McDonough since 2015.